
What to do after water damage in Baytown, TX
Eight steps for the first hours and days after water gets into your Baytown home.
Call Now 24/7(832) 688-652224/7 emergency line. Free estimates from local pros.
Water damage follows a short list of moves, not a long one. Handle these eight, roughly in order, from the first few minutes to the week after, and you protect the house and the insurance claim at the same time. Skip a step or do them out of order and you’re not doomed, but you make the next one harder.
Calling doesn’t wait for you to finish this list, and the list doesn’t wait for your call either. Reach us whenever it fits, before step one or partway through step four. The steps below still need doing either way.
1. The water valve
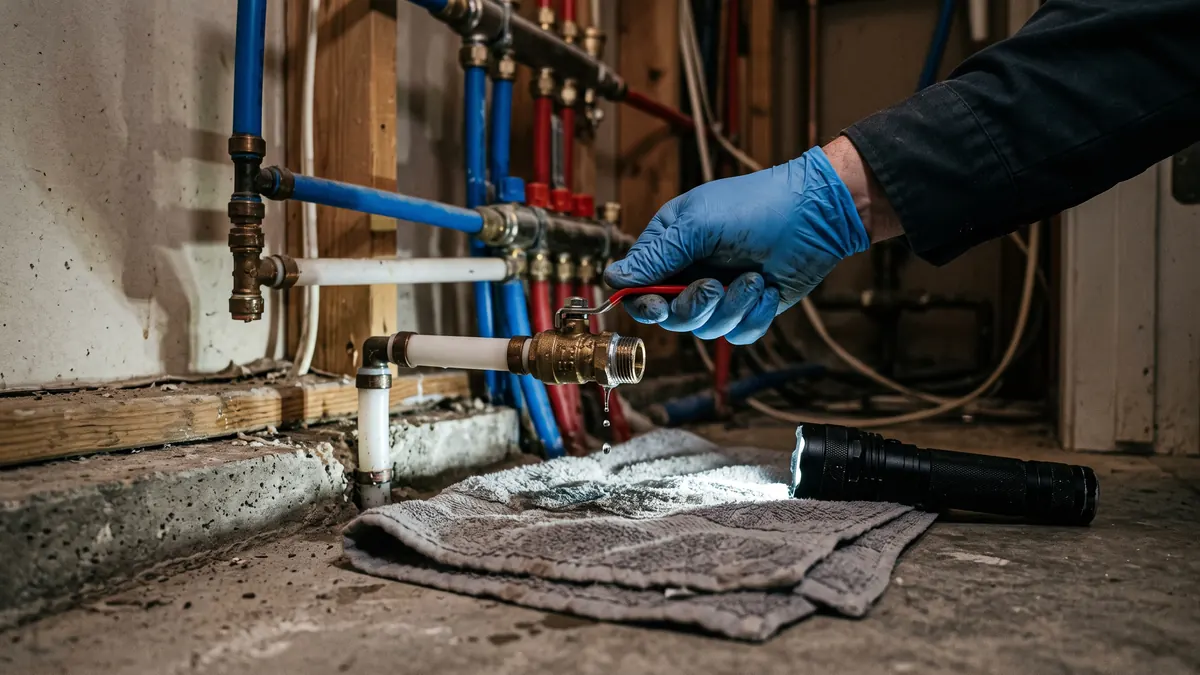
Shut off your water first. Reach for the valve under the sink, behind the toilet, or at the washer, and give it a quarter turn until it stops moving. Touch the supply line after; if it’s still humming or warm from moving water, something’s still running somewhere close by. A closed valve is worth more right now than anything else on this list.
2. The breaker, if water’s close
If standing water sits anywhere near an outlet, a power strip, or a plugged-in appliance, cut power to that area at the breaker before you go back in. Live outlets and standing water don’t mix, and flipping a breaker from a dry hallway takes about ten seconds. Not sure which breaker feeds which room? Cut power to the whole house until you are.
3. Photos, before anything moves
Before you lift a cushion, empty a drawer, or drag anything outside, take pictures of what’s wet. Get the standing water, the stained wall, and the soaked baseboard, enough that someone who never sets foot in your house still understands what happened. A pile of ruined belongings tells a weaker story than the same pile does once it’s been photographed first. An adjuster who shows up days later has to trust your account of the room; pictures do that work for you.
4. Telling your insurer
When should you call your insurance company? As soon as you reasonably can, ideally the same day you find the damage. Say plainly what happened and when it happened. The finer details can come later, once you’ve had a real chance to look around.
5. Mitigation starts here
One thing your policy expects of you: stop the damage from getting worse, not just clean up after it’s done. The water mitigation page pins down what that actually looks like at your house, starting the moment you find the leak.
6. The 48-hour window
Don’t wait on drying unless you truly have no other option right now. Materials that stay wet much past 48 hours are far more likely to grow mold than ones that dried sooner. Fans and open windows buy you a little time. They don’t replace real drying equipment once more than a small spill is involved.
7. When the pros take over
Water that sits more than a day soaks past what you can see, into pad, subfloor, and framing. That’s the point where fans and towels stop being enough, and emergency water removal steps through what a faster response actually does. Nobody expects you to own equipment built for a job like this.
8. What comes next
Once someone’s had a look at the damage, the insurance side of it becomes its own process: an adjuster, an estimate, a decision, a payment. None of that starts until the first seven steps are behind you, and it tends to move faster when they’re done well. For what a policy actually pays and doesn’t, the homeowners insurance guide is the next stop. For how long the drying itself takes, the drying time guide picks up where step six left off.
The list is short on purpose
Eight steps, and that’s the whole list. None of them need a class or a manual. Water off, photos taken, insurer told, and help brought in once the job passes what a fan can fix. That’s the shape of the first week, whatever caused the water in the first place. If your situation doesn’t fit neatly into one of these steps, that’s exactly what the number at the top of this page is for.
Common questions
Is a minor leak even worth reporting to your insurer?
That's a call only you can make, and it usually comes down to your deductible. If the repair costs less than what you'd pay out of pocket before insurance kicks in, plenty of homeowners skip the claim entirely. When you're not sure, ask your agent what a claim today does to your policy down the road, not just what it pays right now.
As a tenant, are you responsible for any of these steps?
Usually the parts you can safely handle yourself, yes. Stopping a leak you can reach, moving your own belongings, and calling your landlord right away are typically on you. Structural repairs and anything tied to the building itself usually fall to the property owner or their insurance, though lease terms vary by property.
Do you have to move out while the house dries?
Not always. A single wet room with drying equipment running is often fine to stay near, as long as it isn't blocking a hallway or bathroom you need every day. Exposed wiring, a strong odor, or a large-scale flood are the situations where a few nights somewhere else makes more sense.
Related pages
AC Condensate Overflow
A ceiling stain and an eave drip both trace back to the same failed drain line.
Learn more →Drying Time Guide
Three machines do the drying. Only one of them says when the job's actually finished.
Learn more →Frozen Pipe Burst
Copper and PEX fail differently in a freeze, and the flood usually starts later than you'd think.
Learn more →Homeowners Insurance
A sudden burst and a slow leak get treated differently by your policy.
Learn more →Talk to a local pro now
We answer 24/7. One call gets a Baytown crew moving on your water damage, with a free estimate and help with your insurance claim.
Call Now 24/7(832) 688-6522Free estimates. No obligation to hire.